
*Note: this article applies only to locations that are not using advanced warehousing i.e. Directed put-away and picks is disabled
To adjust the inventory of an item or record the actual inventory quantity, you can use the below options:
Option#1: Quickest way – Inventory adjustment of an item from Item Card
This is in fact the easiest way to adjust inventory for item but is limited to one item at a time.
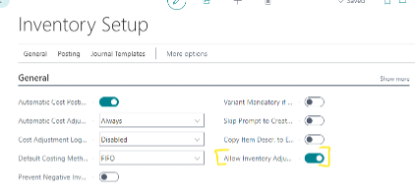
To avail this feature, enable the Allow Inventory Adjustment field in Inventory Setup
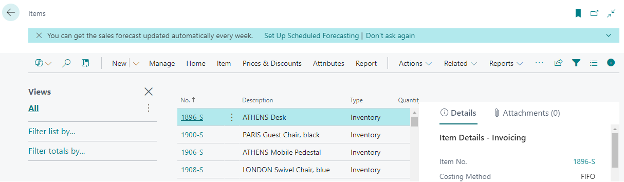
1. Open the Item list page and navigate to the respective item card you want to review
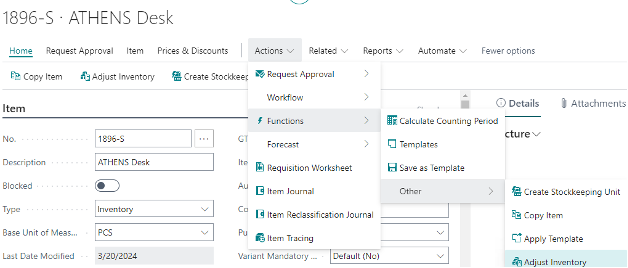
2. From the Item List or Card, click on Adjust Inventory from the Menu – Functions>Other>Adjust Inventory
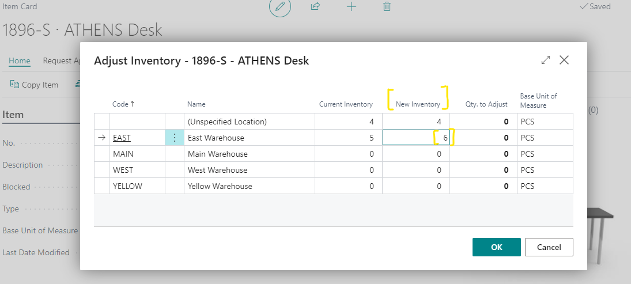
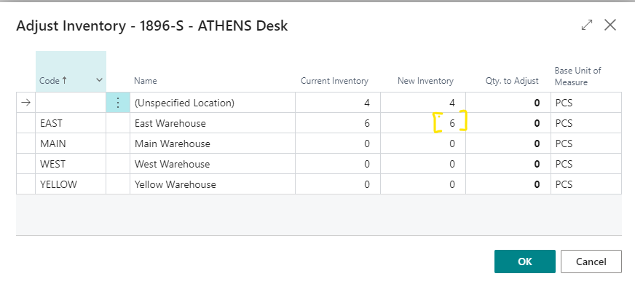
3. The Adjust Inventory Page for an item shows the inventory by location. Lets say, you want to adjust the inventory for East location with quantity as 6 from 5 to match the physical inventory, then you can enter 6 in the New Inventory field and click Okay
4. A message window will appear to show the posting progress, which will make the adjustments

5. The Adjust inventory window now shows the Current inventory as 6 for East location
Option#2: Traditional way – Item Journal
You can post item transactions directly to adjust inventory in connection with purchases, sales, and positive or negative adjustments without using documents.
1. Choose the ![]() icon, enter Item Journal, and then choose the related link.
icon, enter Item Journal, and then choose the related link.
2. Select the Journal Batch
To avoid multiple user conflict doing the inventory adjustments, consider creating separate journal batches. The batches can be defined based on the needs and ability to identify the batch based on the coding structure i.e., for different users or locations or location areas or a combination
For instance, below are some sample batches based on:
- User name– User1, User2, User3
- Location – Main, East, West and so on as per your configuration
- Damages, QA, so on
If you defined the No. Series for the batch in the Item Journal Batch, the Document No. will be populated in the Journal Line will be populated automatically based on the No. Series. If you leave the Posting No. Series blank, then the same Document No. in the Journal Line will be used as for after posting in the ledger

Select the batch and click okay or Edit Journal to open the journal for a specific batch
- Enter the Posting Date (by default this is the work date), Document No.
- Select the Entry Type as Negative/Positive based on the intended adjustment. You can also have purchase/sale as entry type if you do not wish to have separate documents for the same.
- Select the desired Item No, Location No, Quantity to be adjusted
- Select the Reason Code as applicable in case of negative adjustments. For instance, damages, lost, theft, internal consumption. In case this field is not available on page, you can personalize the page to add this field
- Enter dimensions, if applicable
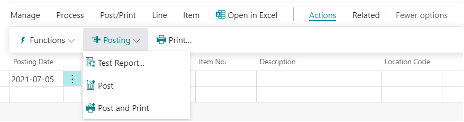
- Navigate to Posting>Test Report to review for any errors as below – ex. Missing mandatory dimensions or posting groups. This option is available at the Journal Batch level

- Navigate to Posting>Post to post the journal to the ledger

If you often use the item journal to post the same or similar journal lines, for example, in connection with material consumption, you can use the Standard Item Journal page to make this recurring work easier. You need to define the standard journal and retrieve it every time you wish to adjust these desired items

Option#3: Physical Inventory Order (suitable for physical count)
You can use the physical inventory order/recording documents to take a physical inventory of items.
The Physical Inventory Order page is used to organize the complete inventory counting project, for example one per
location. Use the Phys. Inventory Recording page capture and distribute the task to different inventory associates.
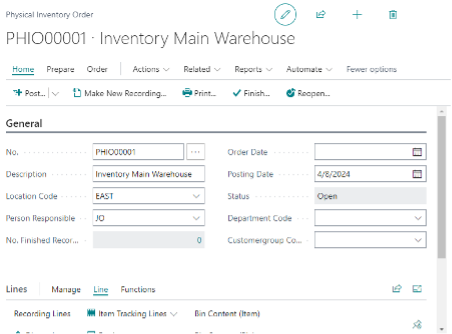
1. Create a physical inventory order (one per location) with expected item quantities prefilled.
- a. Select Location code, person responsible, Posting date to adjust inventory
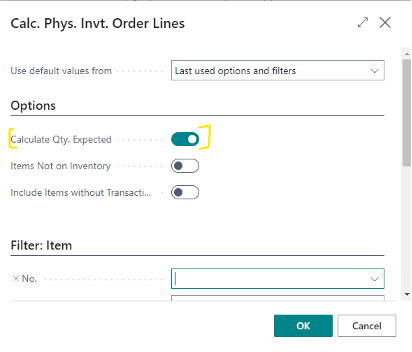
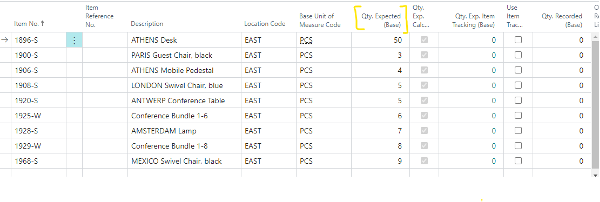
- b. On the Actions tab>Functions>Others, Click on Calculate Lines. Enable the Calculate Qty. Expected (to calculate system quantity) and provide filters if you want to populate a specific group of items or shelf. In this example, no filters are provided. After this step, further we will use filters when making recordings
Lines are populated with the Qty. Expected (Base)
- a. Select Location code, person responsible, Posting date to adjust inventory
2. Generate one or more physical inventory recordings from the order (to distribute group of items to inventory associates for counting).
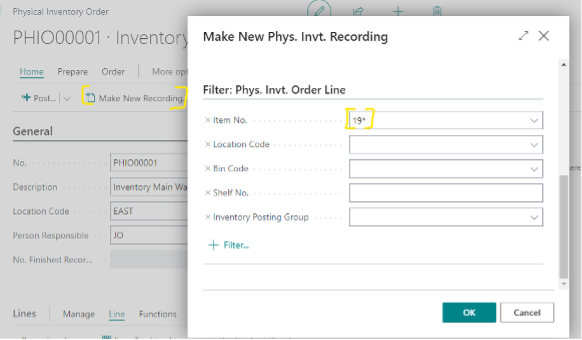
- a. To distribute a subset of items for counting to the inventory associates, you need to create recording documents by clicking on Make New Recording. Specify filters as desired, in this example, we use the item filter as 18* so all items starting with that code will be populated in a recording. You could also use shelf no. as filter to segregate items to count, between inventory associates
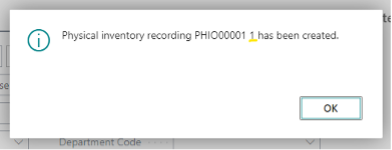
A recording #1 is created
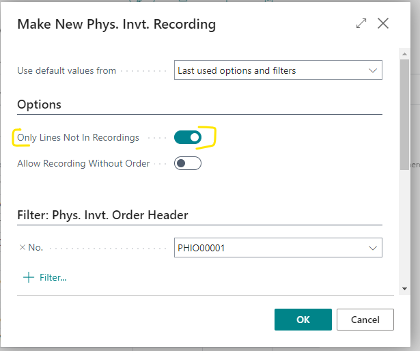
- b. To create a second recording or counting task for another inventory associate, click on Make recording and select filters as desired. In this example we just enable the “Only Lines Not in Recordings”, so that items excluding ones on Recording#1 are populated in this recording.
- c. Navigate to Related>Recordings
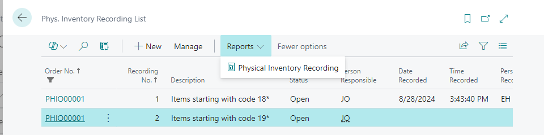
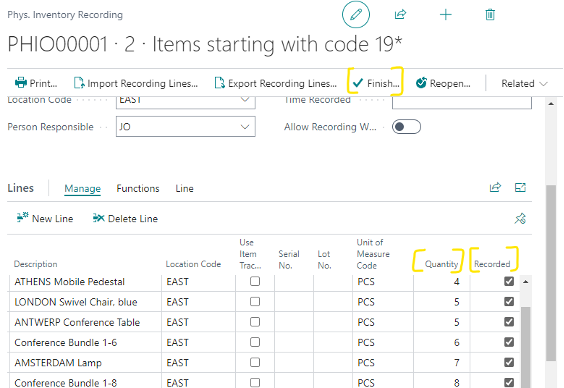
3. Enter the counted item quantities on the recordings, as captured on print-outs. Alternatively, if the inventory associates are using phone or tablet, they can enter quantity directly on the recording line. Once the recording is counted, the user needs to set the recording to Finished.
Below are steps:
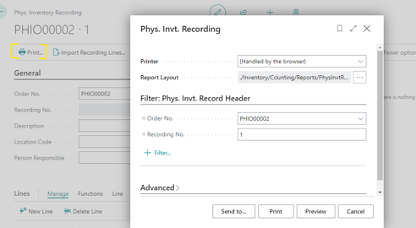
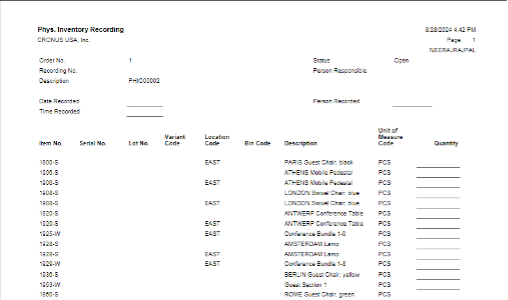
- a. Generate report and print (only if print-out are being handed over to inventory associates to record count)
- b. Enter the quantity on lines in the recording (by inventory associates if using phone; by inventory manager if transferring record from print-out)
When you finish a physical inventory recording, each line is transferred to the line in the related physical inventory order. If, for some reason, two identical physical inventory lines end up on the physical inventory order, you can use find duplicate physical inventory order lines action.
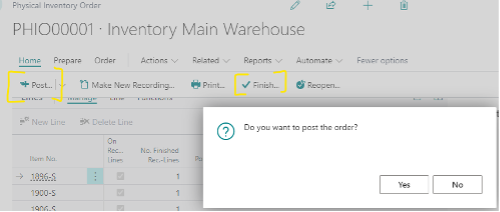
4. Complete and post the physical inventory order:
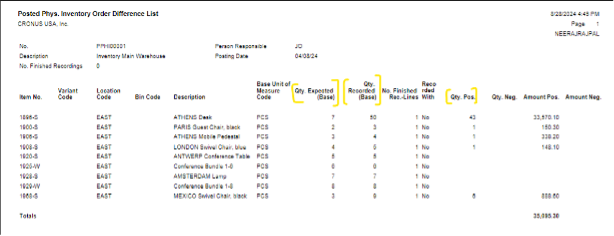
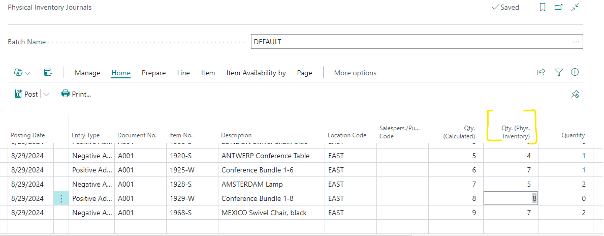
After you finish a physical inventory recording, the Qty. Recorder (Base) field on the related physical inventory order is updated with the counted (recorded) values, and the On Recording Lines checkbox is selected. If a counted quantity differs from the expected quantity, the Pos Qty. (Base) and Neg Qty. (Base) fields show the difference.
5. To view the posted physical order, find the Posted Phys. Invt. Orders report and execute it to view recorded discrepancies
Option#4: Phys. Inventory Journal (suitable for a physical count)
The Phys. Inventory Journal is used in scenario when you want to do a physical count of the items in your inventory area, and then record differences so the item accounts, inventory and valuation can be recorded.
The counting process also involves the following tasks:
1. Open the Physical Inventory Journal
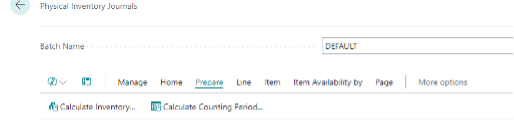
2. Calculate the expected inventory from Prepare tab>Calculate Inventory. Provide the posting date for inventory adjustments of your count, document no. and any other filters related to Item in the request page. If doing a full count, the item filters may not be required.
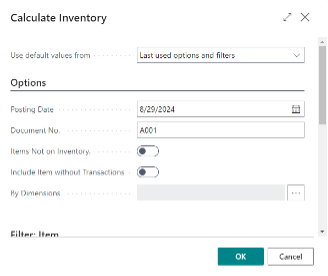
After you click okay, the journal will be populated with item lines having inventory in the Qty. (Calculated) field. If you selected Items Not on Inventory in the Request page (as above), it would also populate items not in inventory in journal.
3. Print the report you want to use for the count and hand it over to the inventory associate for doing the count

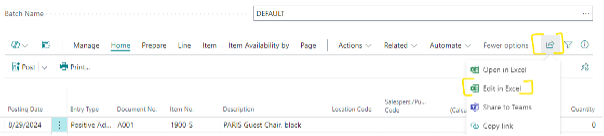
4. Enter and post the actual quantities once the inventory associates hand over the recorded sheet. You can also use the Edit in Excel from the Inventory Journal to edit as an easier alternate way and then save it to Business Central
Edit in Excel
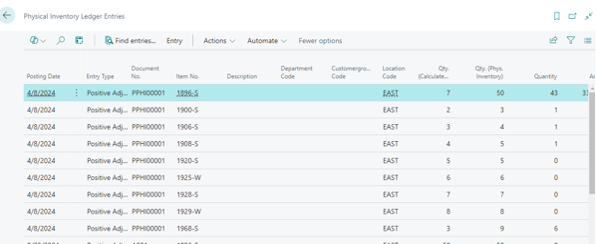
5. If you would like to review the data after it is posted, open the Physical Inventory Ledger Entries Page, filter on the date and it will show all the lines posted with the difference
Option#5: Store Inventory Worksheet (native LS Central, a BC Extension)
This option can be considered if you want to give a more controlled access to the users from different locations. For instance, if you want the store manager of store 504 to have only access to the journals relevant to that store, you can use this option. Based on the store assigned in the Retail Setup to the user, the user would be able to see the journals
1. Choose the ![]() icon, enter Store Inventory Worksheet, and then choose the related link.
icon, enter Store Inventory Worksheet, and then choose the related link.
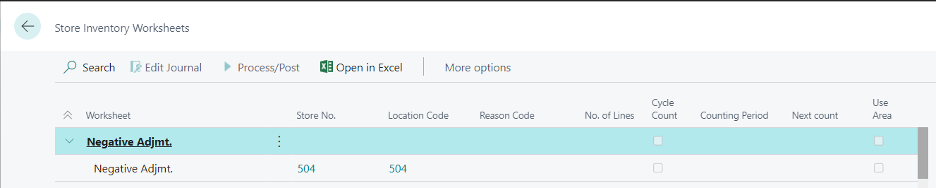
2. Select the specific adjustment Journal (Positive/Negative) for which you want to adjust inventory, and then choose the Edit Journal action.
3. Scan the barcode of the item or enter the item number you wish to adjust.
4. Enter quantity, reason code, posting date and relevant fields

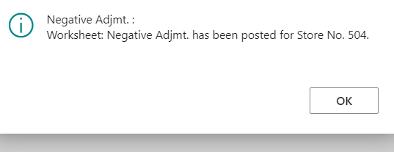
5. Review the Journal and click on Process/Post
In conclusion, adjusting inventory effectively in Business Central depends on the specific needs of your business. Whether you prefer the simplicity of adjusting items through the Item Card, the flexibility of the Item Journal, or need a more structured approach with Physical Inventory Orders, each method provides its own advantages. By understanding the different options available, you can choose the best method for accurate and efficient inventory management. Regularly reviewing these processes ensures that your inventory stays aligned with physical counts, reducing discrepancies and improving overall operational efficiency.

Dynamics 365 Sr. Technical Consultant
read full bio