Overview
Device Menus are a part of the interface of the warehouse insight app and are integral to the application development process.
A Device Menu has several properties that need to be setup or changed to meet the business need.
There are two types of menus:
Main menus
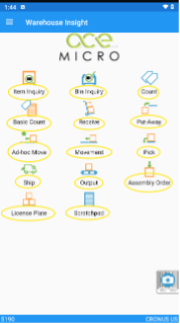
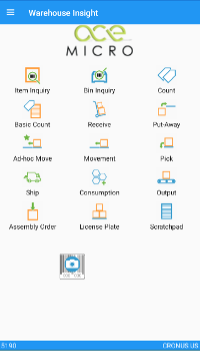
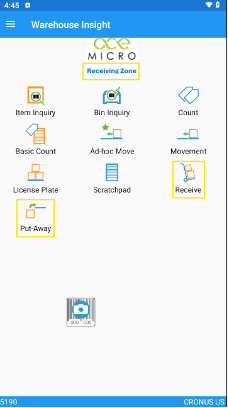
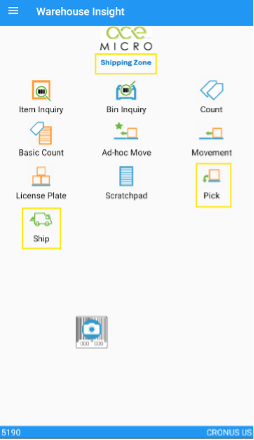
Refer to the menus on the main landing page as highlighted in yellow below:
Application menus
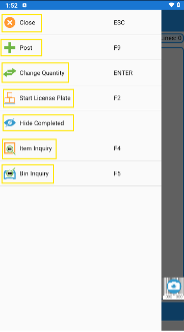
Refer to the menus within a specific application to perform an action. Below example shows menus in the Receive Application highlighted in yellow:
Let’s consider a couple of scenarios based on business needs to understand this better.
Scenario #1
Hide unwanted menus from home or landing page in Insight Works app from all devices
*Note: this scenario assumes that you have the same menus on all your devices.
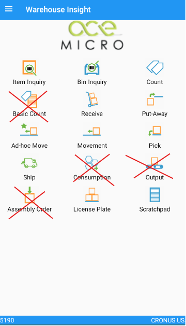
The following menus will not be used and need to be removed from the landing page:
Consumption, Output, Assembly Order, Basic Count
Steps to configure
Look for the Warehouse Insight Device Menus page from the search icon.
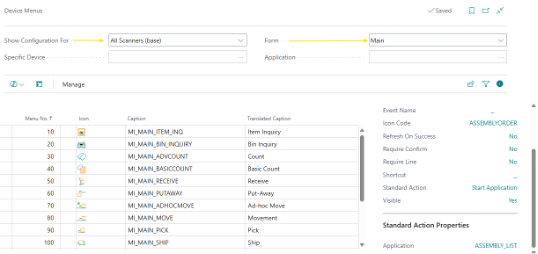
Make sure of below points on the page:
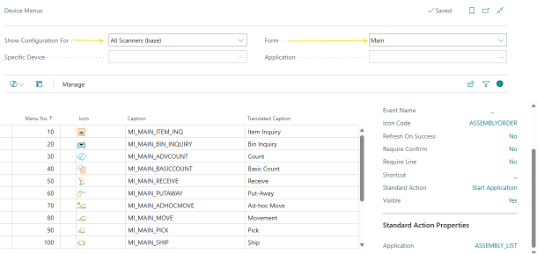
- Show Configuration For is set to All Scanners (Base) as all scanners are using the same menus
- Form is set to Main as below
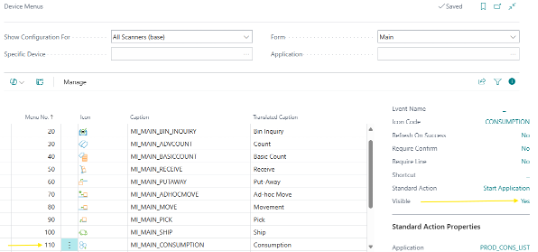
Select the row with Translated Caption as Consumption and from the Fact box on the right, toggle the value for Visible property to No. This will hide this menu on all devices and is a global setting.
Below Visible property is toggled to No.
Repeat the same steps to set the Visible property to No for Basic Count, Output, Assembly Order and close the Warehouse Insight Device Menu page.
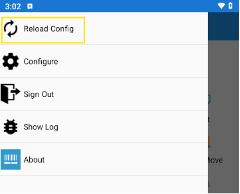
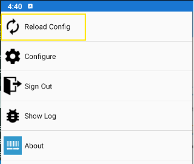
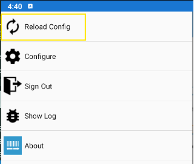
Open the Warehouse Insight app and Click Reload from the menu.
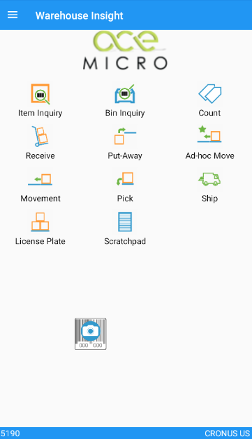
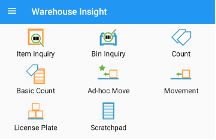
You will then see the menus are now hidden and it shows a revised list of menus.
Scenario #2
Have different menus for shipping and receiving related tasks/devices.
In this scenario, the requirement is to have:
- separate menus for shipping and receiving related tasks
- common menus like Item or Bin Inquiry, Count, Scratchpad will be on both Shipping and Receiving handhelds
As you need to set exceptions for menus on the devices, first you need to set the Visible property for all scanners to No, which is at global level. Further, you can set the exception to show the respective menus on Shipping or Receiving device.
Before you start, below is a snapshot of the device menu which shows all menus.
Configuration steps
Look for the Warehouse Insight Device Menus page from the search icon.
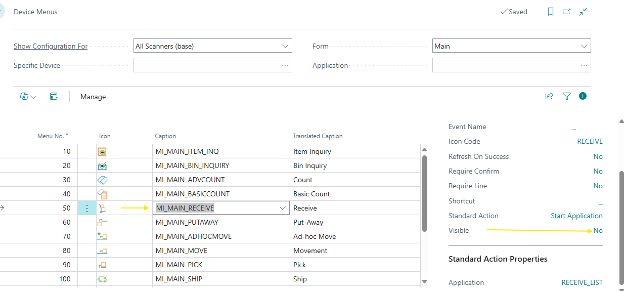
Make sure of below points on the page:
- Show Configuration For is set to All Scanners (Base) as all scanners are using the same menus
- Form is set to Main as below
Select the line with Translation caption as Receive (MI_MAIN_RECEIVE) and from the fact box on the right, set the Visible property to No.
Repeat these steps for Put-away, Ship, Pick, Output, Consumption, Assembly Order.
Once done, close Warehouse Insight App Menus page.
If you reload open the Warehouse Insight App now, it will remove the hidden menus from the landing page as below.
Next, we need to set the exceptions to show menus related to Receiving or Shipping devices.
Let’s start with the configuration of Receiving Device menus.
Open the Warehouse Insight Device Menu page.
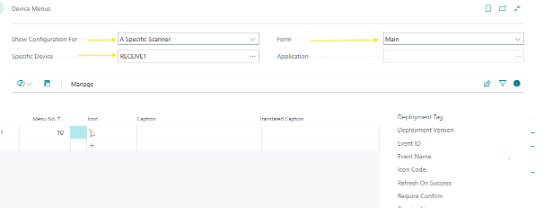
In the Show Configuration For, change it to A Specific Scanner and select the receiving device (RECEIVE1 in this example) from device configuration lookup list.
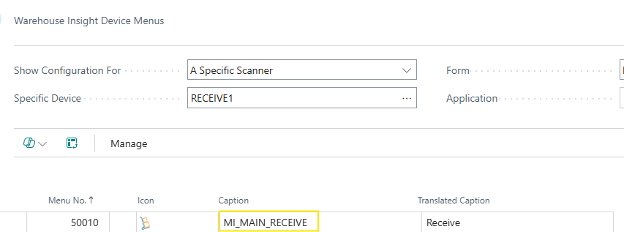
In the lines, add Menu #, select the caption as MI_MAIN_RECEIVE from lookup list. Note, if you keep #10, then it will show this menu in place of the Item Inquiry from base. To keep it unique, you can give it another number that is not there in base (for all scanners).
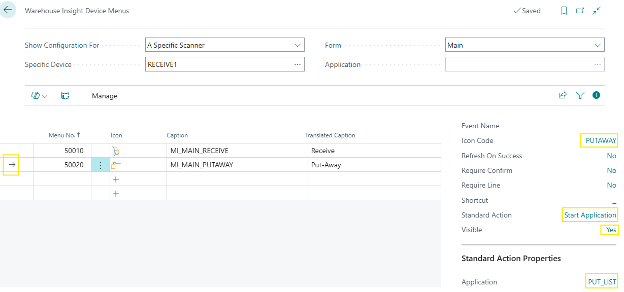
Select this line and from the fact box, set the below properties – Icon Code, Standard Action, Visible and Application. This will call the RECEIVE_LIST application which shows list of pending receipts.
Add another line for put-away (similar to the one for receive) and add the properties in fact box as highlighted. This will call the PUT_LIST Application which will show a list of pending put-aways.
Close the Warehouse Insight Device Menus page.
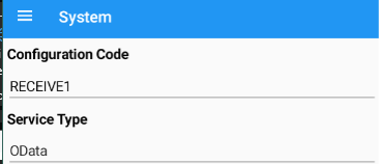
Open the Warehouse Insight app on the device (RECEIVE1 in example), reload the configuration from menu, and then it should show the new menus for receive and put-away.
Let’s move to with the configuration of Shipping Device menus for which we need additional menus – Ship and Pick. The configuration process will be similar to that of the receive side.
Open the Warehouse Insight Device Menu page.
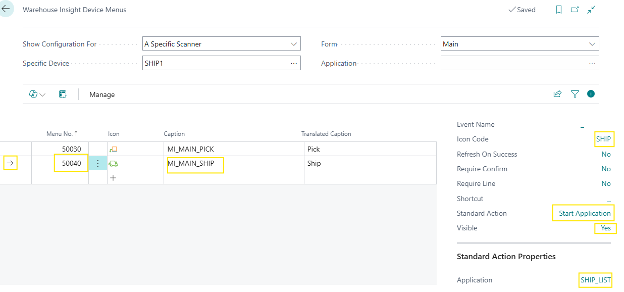
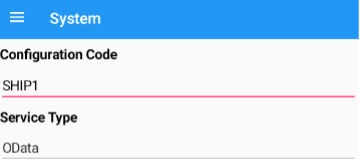
In the Show Configuration For, change it to A Specific Scanner and select the shipping device (SHIP1 in this example) from device configuration lookup list.
Add a menu line for the pick and select the properties associated with this menu as below. This is mapped to the PUT_LIST which will open the pending pick list.
Likewise, add another menu line for Ship and select the associated properties. This is mapped to SHIP_LIST which will open the pending shipments list.
Close the Warehouse Insight Device Menus page.
Open the Warehouse Insight app on the device (SHIP1 in example), reload the configuration from menu, and then it should show the new menus for receive and put-away.
As for the base menu that applies for all scanners, you need to keep tab/backup of that so that you can redo it through a configuration package just in case, it is lost after any upgrades.
In conclusion, maintaining and customizing the menus on the main landing page of the Warehouse Insight app is a crucial step in ensuring that the user interface is tailored to specific business needs. By following the outlined steps, you can effectively manage menu visibility across various devices, ensuring that only the relevant functions are accessible for different operational tasks like shipping and receiving. With the flexibility to adjust these configurations, your team can optimize workflows, improve efficiency, and maintain a streamlined process, adaptable to future business requirements.

